
To make any diffuser quieter, focus on vibration isolation and damping. Use mounts designed to absorb vibrations, such as rubber or foam padding, and attach them securely to walls or ceilings. Add damping layers like acoustic foam or mats behind the unit or around mounting points to dissipate vibrational energy. Placing soft pads beneath or between the diffuser and hard surfaces also helps reduce rattling and buzz. Keep exploring for more effective tricks to silence your diffuser effectively.
Key Takeaways
- Use vibration-isolating mounts or brackets specifically designed to absorb and decouple the diffuser from surfaces.
- Add damping materials like foam padding or rubber pads between the diffuser and mounting surface to reduce vibrational transfer.
- Place diffusers on soft pads or mounts that dampen vibrations rather than hard, rigid surfaces.
- Incorporate damping layers such as mass-loaded vinyl or acoustic foam behind or around the diffuser to dissipate vibrational energy.
- Combine vibration-isolation mounts with damping materials for a comprehensive approach to significantly minimize noise.

If you’re struggling with noise and vibrations from diffusers, there are effective tricks to minimize their impact. One of the most straightforward approaches is to improve your mounting solutions. The way you attach your diffuser plays a vital role in how much noise it generates and transmits. Instead of rigidly fixing the diffuser directly to a wall or ceiling, consider using mounts that absorb vibrations. Rubber mounts, foam padding, or specialized vibration isolation brackets can help decouple the diffuser from its mounting surface. These solutions act as buffers, preventing vibrations from traveling into walls or ceilings, which often amplifies noise. Proper mounting not only reduces direct noise transfer but also minimizes the mechanical vibrations that cause rattling or buzzing sounds. Incorporating vibration isolation techniques into your setup can further enhance noise reduction by targeting the root causes of vibration transfer. Material damping is another essential factor in noise reduction. The materials used in and around your diffuser can considerably influence how vibrations are handled. Adding damping materials, like acoustic foam or mass-loaded vinyl, can absorb and dissipate vibrations before they become noticeable noise. For example, wrapping the diffuser with a damping layer or placing damping mats behind it can help convert vibrational energy into small amounts of heat, which then diminishes the sound. Using damping materials is especially effective because it targets the root of the noise—vibrations—rather than just muffling the sound after it’s produced.
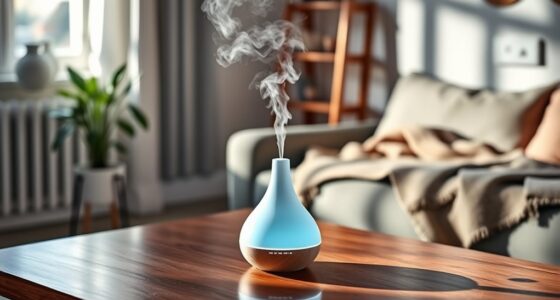
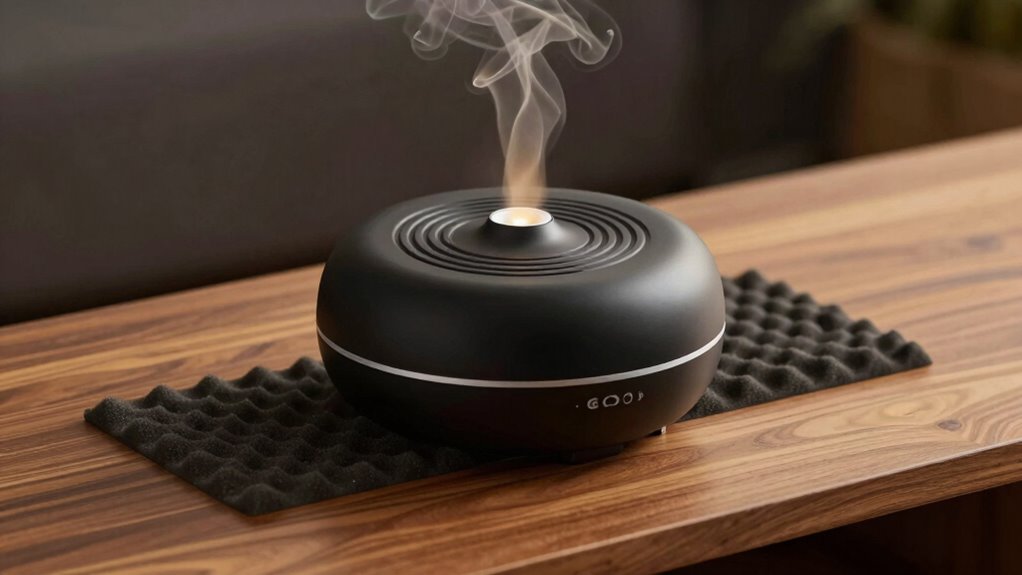
Combining effective mounting solutions with appropriate damping materials creates a powerful strategy for quieting your diffuser. Start by selecting mounts designed to isolate vibrations, and then reinforce these with damping materials on or around the diffuser. If your diffuser is on a shelf or countertop, try placing it on a soft, vibration-absorbing pad instead of directly on a hard surface. If wall-mounted, consider using mounts with built-in damping features or adding damping pads between the mount and the wall. These small adjustments can dramatically cut down on rattling, buzzing, and overall noise levels.

Dreo Smart Humidifiers for Bedroom, Top Fill 4L Supersized Humidifier Large Room with 28 dB, 36H Runtime, Touch/APP/Voice Control, Nightlight, Cool Mist Humidifiers for Baby, Plants, Indoor, Black
𝐏𝐫𝐞𝐜𝐢𝐬𝐞 𝐀𝐮𝐭𝐨 𝐇𝐮𝐦𝐢𝐝𝐢𝐭𝐲, 𝐕𝐨𝐢𝐜𝐞 & 𝐀𝐩𝐩 𝐂𝐨𝐦𝐦𝐚𝐧𝐝: Stop guessing the right humidity. With enhanced sensing precision for more...
As an affiliate, we earn on qualifying purchases.
Frequently Asked Questions
Can I Use Household Items to Quiet My Diffuser?
Yes, you can use household solutions and DIY techniques to quiet your diffuser. Place a soft cloth or foam pad underneath it to absorb vibrations and reduce noise. You might also try rubber washers or small silicone pads for added isolation. These simple household items help dampen the vibrations, making your diffuser quieter without any complex modifications. Just guarantee everything stays stable and secure for safe operation.
How Long Does It Take to Notice a Difference?
You might notice a quieter diffuser within a few days of improving diffuser maintenance and adding soundproof materials. It’s often coincidental how quick these tweaks work, especially if you’ve layered foam or vibration isolators. Keep in mind, consistency helps; the more you reduce vibrations and noise, the faster you’ll see results. Usually, a week or so is enough to gauge a significant difference in noise levels.
Are There DIY Methods Suitable for All Diffuser Types?
Yes, DIY techniques can be suitable for many diffuser types, but some may require professional solutions for peak results. You can try placing foam or rubber pads underneath your diffuser to absorb vibrations or using DIY vibration isolation mounts. For more complex issues, consulting a professional ensures proper soundproofing. Always check your diffuser’s material and design before applying DIY methods to avoid damage or reduced performance.
Will Noise Isolation Affect Diffuser Performance?
Ever wondered if noise isolation affects your diffuser’s performance? It generally doesn’t, especially if you focus on diffuser placement and vibration dampening. By isolating vibrations, you prevent sound transfer without blocking essential airflow or mist diffusion. Properly dampening vibrations and choosing the right spot ensures quieter operation while maintaining ideal diffuser function. So, yes, you can quiet your diffuser effectively without compromising its performance—just be mindful of how you position and isolate it.
Is Professional Installation Necessary for Effective Noise Reduction?
Professional installation isn’t always necessary for effective noise reduction, but it can substantially improve results. Skilled installers understand noise reduction techniques, ensuring your diffuser is properly mounted and isolated from vibrations. They can identify and address potential noise sources, optimizing the setup for quieter operation. If you’re aiming for the best noise control, investing in professional installation is a smart move, especially when dealing with complex or high-powered diffusers.

DREO 8L Smart Humidifier Large Room 600ft², HM717S, 80H Runtime Supersized Warm and Cool Mist Humidifiers for Bedroom Baby, 28dB Quiet Air Humidifier for Plants Indoor, Home, Whole House, Silver
𝐖𝐚𝐫𝐦 𝐚𝐧𝐝 𝐂𝐨𝐨𝐥 𝐌𝐢𝐬𝐭, 𝐀𝐥𝐥-𝐚𝐫𝐨𝐮𝐧𝐝 𝐂𝐨𝐦𝐟𝐨𝐫𝐭: Switch between warm mist (reach 133°F in 8 mins) for winter relief...
As an affiliate, we earn on qualifying purchases.
Conclusion
By applying simple vibration isolation tricks, you can substantially reduce your diffuser’s noise, making your space more peaceful. Did you know that effective isolation methods can lower noise levels by up to 50%? That means you’ll enjoy a calmer environment without sacrificing your diffuser’s benefits. Don’t underestimate the power of rubber pads, foam mats, or proper placement—they’re inexpensive yet highly effective. Give these tips a try, and transform your diffuser into a quieter, more relaxing addition to your home.

Hotel Scent Diffuser, House Scent Machine, 5000 Sq.Ft of Coverage, 500ml Large Capacity Aromatherapy Machine, Scent Diffusers for Home Large Room, Office Waterless Essential Oil Diffuser
[Scent Diffuser for Whole Home] The home Scent diffuser uses the latest cold air Scent diffuser technology to...
As an affiliate, we earn on qualifying purchases.

Waterless Essential Oil Diffuser 5000 Sq.Ft Coverage for Large Home, Hotel, or Office, 200ml Cold Air Scent Diffuser Machine with Bluetooth App Control, Quiet No-Heat HVAC Fragrance Diffuser
Waterless Cold-Air Diffusion – Solves Humidity & Impure Scents. traditional diffuser add moisture or dilute fragrance. This waterless...
As an affiliate, we earn on qualifying purchases.