Mixing essential oils with shea butter is a great way to enhance your skincare routine. Start with 1/4 cup of raw shea butter and 1/4 cup of coconut oil for deep moisture. Melt them together until combined. Once cooled to below 75°F, add 6-12 drops of your chosen essential oil, like lavender for soothing or tea tree for a purifying effect. Stir well to mix thoroughly. Remember to do a patch test before applying it to larger skin areas. This simple blend can be customized to suit your needs, and more tips await to help you perfect your creation!
Key Takeaways
- Begin by melting 1/4 cup of raw shea butter and 1/4 cup of coconut oil for a smooth base.
- Allow the mixture to cool below 75°F (23°C) before adding essential oils to maintain their potency.
- Use a dilution ratio of 1-2% by adding 6-12 drops of essential oil per ounce of the shea butter mixture.
- Perform a patch test on a small skin area to check for any allergic reactions before full application.
- Store the final product in an airtight dark glass container to preserve its effectiveness and extend shelf life up to 6 months.

Eternal Essence Oils 2 Pack 10ml Premium Fragrance Oil – Coconut Cream and Tahitian Vanilla Scents – for Candle, Soap Making, Aromatherapy, Diffusers, Home Care, & Humidifiers
- Versatile Use: For candles, soaps, sprays, and more
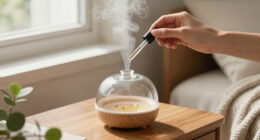
- Home Diffuser Compatible: Ideal for use in aroma diffusers
- Coconut Cream Scent: Sweet, creamy, with tropical notes
As an affiliate, we earn on qualifying purchases.
As an affiliate, we earn on qualifying purchases.
Benefits of Essential Oils

When you incorporate essential oils into your skincare routine, you access a variety of benefits that can greatly enhance your skin's health.
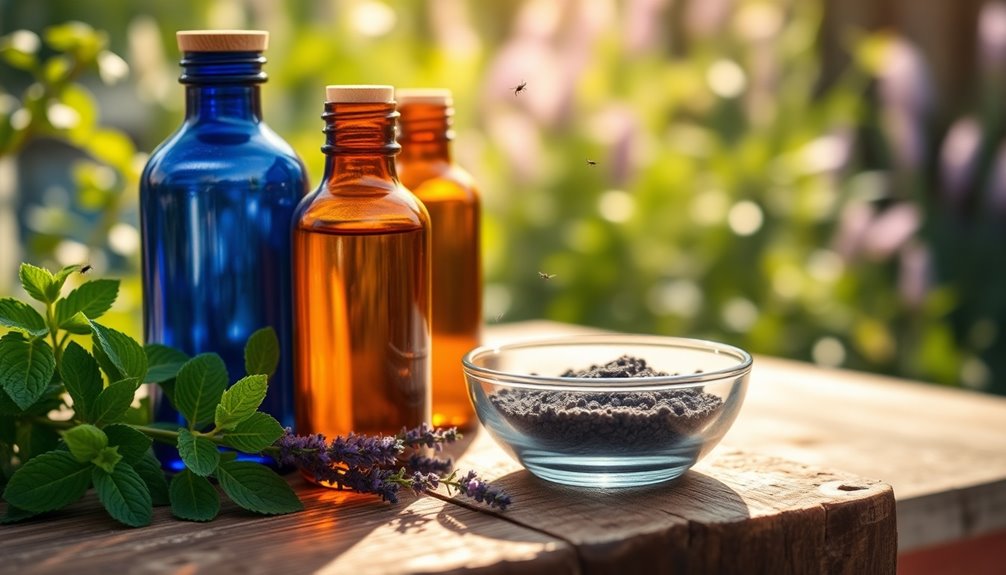
One of the key benefits of shea butter is its moisturizing properties, which are amplified when mixed with essential oils. Lavender essential oil offers calming effects, soothing irritated skin while promoting relaxation. Additionally, the use of dietary fiber found in chia seeds can aid in maintaining overall skin health by promoting digestive well-being. Furthermore, using oils derived from plants like Ilex paraguariensis can contribute to skin nourishment due to their antioxidant properties. Flower teas, known for their health benefits, can also be beneficial when incorporated into skincare routines for their hydrating properties.
Meanwhile, tea tree oil targets acne and reduces inflammation due to its powerful antiseptic qualities. Custom blends of essential oils with shea butter allow you to cater to your individual skin needs, whether you're aiming for anti-aging effects or skin rejuvenation. Additionally, the use of natural antibacterial properties in essential oils can help improve overall skin health and hygiene.
Safe Usage Guidelines

- Always dilute essential oils with a carrier oil, like shea butter, in a ratio of 1-2% (6-12 drops per ounce).
- Perform a patch test on a small area of skin before widespread application.
- Add essential oils to shea butter at temperatures below 75°F (23°C) to preserve their properties. Using oils above this temperature can lead to degradation of potency, affecting the effectiveness of your blend.
- Use high-quality essential oils that have undergone third-party testing for purity.
- Regular use of essential oils can create a positive environment, which may enhance your overall well-being.
Key Ingredients for Body Butter
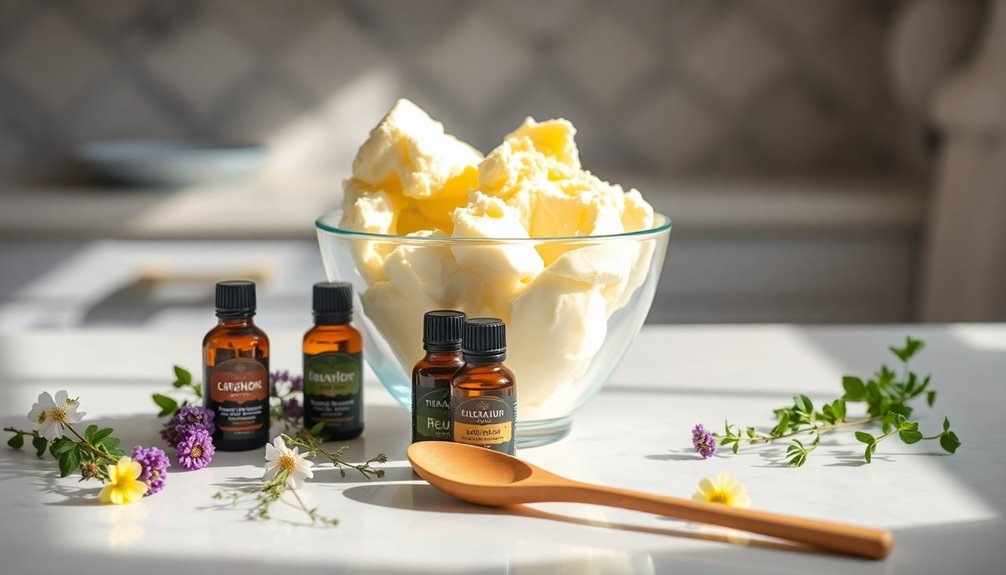
Creating a rich and nourishing body butter starts with the right base ingredients, which form the foundation of your skincare masterpiece.
Begin with 1/4 cup of raw shea butter and 1/4 cup of coconut oil. These ingredients provide deep moisture and nourishment for your skin.
To enhance softness, add 2 oz of sweet almond oil or jojoba oil. If you prefer a thicker consistency, consider incorporating beeswax as a stabilizing agent.
Essential oils like lavender, tea tree, or peppermint can be added for fragrance and therapeutic benefits, using a 1-2% ratio to the total mixture.
Feel free to experiment with naturally refined shea butter or avocado oil to customize the texture and aroma of your body butter.
Choosing Quality Essential Oils

When you're picking essential oils for your DIY skincare, it's vital to choose reputable brands like NOW Foods or Aura Cacia.
Verify to check for purity and therapeutic grade labels, as these can markedly impact the effectiveness of your products.
Always conduct patch tests to guarantee your skin reacts well before fully incorporating any new oil into your routine.
Sourcing Reputable Brands
How can you guarantee that the vital oils you choose are of the highest quality? Start by sourcing from reputable brands known for their commitment to purity and quality, like NOW Foods and Aura Cacia.
It's important to verify any organic claims, as the FDA doesn't regulate them. You should also research extraction methods to confirm you're getting the best product.
Here are some tips to help you:
- Look for third-party testing to confirm purity and therapeutic value.
- Conduct patch tests before using new essential oils on your skin.
- Store oils in dark glass containers to maintain potency.
- Keep them away from direct sunlight to extend shelf life.
Choosing wisely enhances your DIY skincare experience! Additionally, ensure the oils are free from harmful pollutants and additives, as these can compromise both skin health and the overall integrity of your skincare formulation.
Understanding Oil Purity
To guarantee you're using the finest essential oils in your DIY skincare, you need to focus on their purity.
Prioritize high-quality essential oils from reputable brands like NOW Foods and Aura Cacia, which undergo third-party testing for purity and therapeutic value. Always verify organic claims, as the FDA doesn't regulate these assertions. Incorporating herbal alternatives in your skincare routine can enhance the benefits of essential oils.
Researching extraction methods and origins can help confirm you're getting superior oils. Remember, high-quality essential oils come from natural sources and contain no synthetic additives, maximizing their healing benefits. Additionally, consider the safety measures necessary for using essential oils, as some oils can cause skin irritation or other adverse reactions.
Before mixing with shea butter, conduct patch tests with new essential oils to confirm skin safety. Proper measurement and dilution, ideally at a 1-2% ratio, are crucial for safe and effective application.
Importance of Testing
While exploring the world of essential oils for your DIY skincare, testing the quality of these oils is crucial to guarantee safety and effectiveness.
Prioritize high-quality brands that undergo third-party testing and verify organic claims. Remember, the lack of FDA regulation means not all oils labeled as organic are equal. Additionally, understanding the importance of privacy policies can help you make informed decisions about the products you choose. Maintaining awareness of navigating life's tiny pitfalls can also prevent missteps in your skincare journey. Furthermore, using essential oils like peppermint oil can provide additional benefits when mixed with shea butter, enhancing your skincare formulation.
Before applying any formulations, always conduct a patch test to avoid allergic reactions.
Also, adhere to the recommended dilution ratio for essential oils in skin care, which is 1-2% (6-12 drops per ounce of shea butter).
Consider these tips:
- Choose reputable brands like NOW Foods or Aura Cacia.
- Research extraction methods.
- Check for third-party testing.
- Confirm organic certifications.
Furthermore, understanding the importance of filter replacement can also enhance your overall wellness routine as cleaner air contributes to healthier skin.
Your skin will thank you!
Step-by-Step Mixing Process

Creating your own body butter is a straightforward process that requires just a few simple steps.
Start by measuring 1/2 cup of packed shea butter and 1/4 cup of coconut oil in a deep bowl to achieve a fluffy texture. Melt the shea butter and coconut oil together in a double boiler or saucepan over low heat until fully liquefied. Hydration is essential for skin health and glow retention, making shea butter an excellent choice for your body butter, as it is rich in vitamins A, C, and E that help nourish the skin. Additionally, incorporating essential oils like lavender can provide calming effects that enhance your skincare routine.
Once melted, let the mixture cool slightly before adding 3-4 drops of your chosen essential oils, like lavender or tea tree oil. It's important to consider the carrier oils used in the mixture for optimal skin safety and absorption.
Then, grab an electric mixer and whip the mixture on low speed, gradually increasing to high speed for about 5 minutes until it's light and fluffy.
Finally, store your body butter in a clean, sealable container.
Tips for Customization

When customizing your DIY skincare, think about the scent combinations that resonate with you and your skin's needs.
You can also adjust the consistency and texture by adding thicker agents, making your creations feel just right.
Plus, understanding the properties of essential oils helps you choose the best ones for your unique blend.
Scent Combinations to Try
There's a world of delightful scents waiting for you to explore in your DIY skincare routine. By mixing essential oils with shea butter, you can create unique body butter blends tailored to your preferences.
Here are some scent combinations to try:
- Calming Blend: 10 drops of lavender + 5 drops of chamomile for relaxation.
- Invigorating Freshness: 8 drops of peppermint + 5 drops of eucalyptus to boost focus.
- Floral Uplift: 6 drops of geranium + 4 drops of neroli for rejuvenation.
- Citrus Twist: 6 drops of sweet orange + 3 drops of lemon, but watch for photosensitivity.
For targeting skin imperfections, consider 7 drops of tea tree oil mixed with 5 drops of frankincense.
Enjoy personalizing your body butter!
Adjusting Consistency and Texture
To achieve the perfect consistency and texture in your DIY body butter, consider the state of your ingredients before mixing. Make certain your shea butter and coconut oil aren't in liquid form, as this will affect adjusting consistency.
If your mixture feels too oily or runny, incorporate a thickening agent like beeswax or arrowroot powder. You can also refrigerate the melted oils before whipping to help create a light, airy texture.
Gradually increasing the mixing speed from low to high while whipping, and scraping the bowl's sides, guarantees even blending.
Finally, adjusting the ratio of shea butter to carrier oils, like almond oil, allows you to customize the richness and texture of your body butter perfectly.
Essential Oil Properties Explained
How can you elevate your DIY body butter with essential oils? By understanding their unique properties, you can customize your shea butter blend for specific benefits.
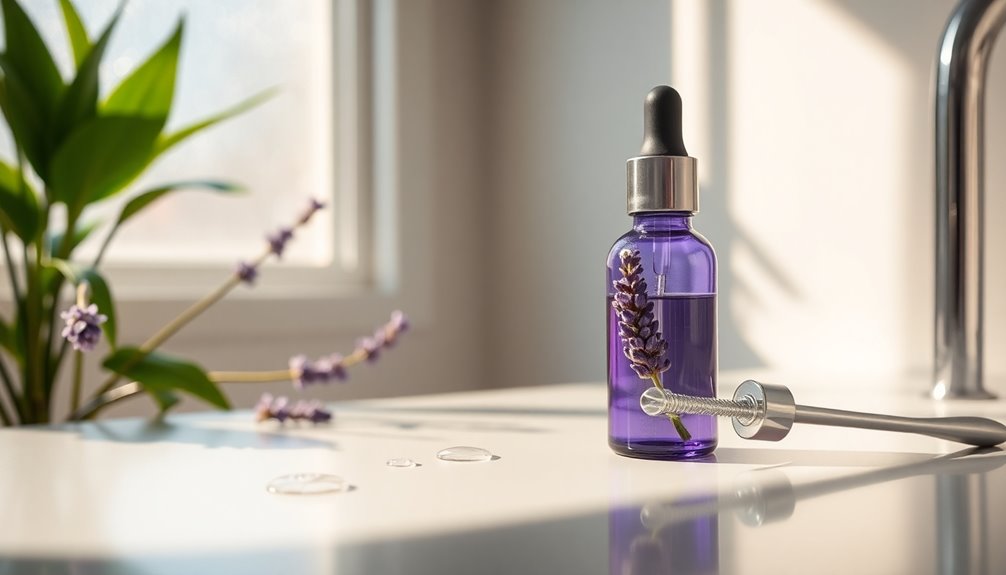
For instance, lavender oil soothes irritation and promotes relaxation, while tea tree oil combats acne and purifies the skin. Here are some tips for customization:
- Use a dilution ratio of 1-2%—6-12 drops per ounce of shea butter.
- Keep your mixture below 75°F (23°C) to maintain aromatics.
- Experiment with other oils like frankincense for anti-aging or peppermint for invigorating effects. Essential oils can also enhance mood and reduce stress, making your body butter not just a skincare product but a holistic wellness treatment. Moreover, some essential oils like lavender oil are known for their calming effects that can complement your self-care routine. Regular use of essential oils for hair growth may also provide additional benefits, as they can stimulate hair follicles and promote overall health.
- Test small batches to find your perfect scent and effectiveness.
Moreover, incorporating essential oils reflects the creative practice overview as it allows you to explore different blends and enhance your overall skincare routine.
With these tips, you can create a personalized body butter that truly meets your skincare needs!
Common Issues and Solutions

Creating your own skincare products can be rewarding, but common issues often arise that can affect the final result.
If your shea butter feels oily, check your proportions or consider adding beeswax for better consistency.
For essential oils that fade quickly, opt for high-quality brands and mix them in during preparation to improve scent retention.
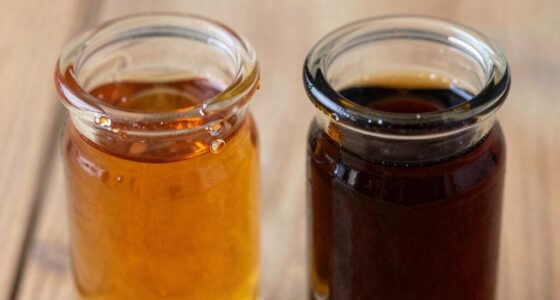
If raw shea butter has a nutty smell, blend it with coconut oil or switch to refined shea butter for a more neutral base.
Should your body butter melt, refrigerate it before whipping to restore fluffiness.
Finally, to maintain freshness, store your creations in a cool, dark place using airtight glass containers to guarantee ideal storage and prevent any chemical leaching.
Storage and Shelf Life

Maintaining the quality of your DIY skincare products is key to enjoying their benefits over time.
To guarantee the best storage and shelf life for your essential oils and shea butter mix, follow these tips:
- Always use an airtight glass container to prevent chemical leaching.
- Store the container in a cool, dark place away from direct sunlight.
- Your body butter can last up to 6 months if properly stored; avoid heat and light exposure.
- If it melts, it's still usable—refrigerating can help restore its fluffy texture.
Enhancing Your Skincare Routine

To elevate your skincare routine, consider incorporating shea butter mixed with essential oils, as this powerful combination not only deeply moisturizes but also addresses specific skin concerns.
The moisturizing properties of shea butter are enhanced by essential oils like lavender and tea tree oil, which can calm irritation and reduce acne.
For the best results, stick to a dilution ratio of 1-2% essential oils per ounce of shea butter, which means adding 6-12 drops of your chosen oil. Mixing the oils during the melting process helps retain their aromatic qualities.
Frequently Asked Questions
What Oil Can Be Mixed With Shea Butter?
You can mix several oils with shea butter to enhance its benefits.
Coconut oil not only masks the nutty scent but also boosts moisturization.
Sweet almond oil softens the skin, while jojoba oil improves absorption due to its similarity to your skin's natural oils.
Avocado oil adds nourishment and vitamins, and argan oil offers anti-aging properties, making it a great choice for an effective, hydrating blend.
Experiment to find your perfect combination!
How Many Drops of Essential Oil to Shea Butter?
When you mix essential oils with shea butter, you should aim for a dilution ratio of 1-2%.
This means you'll need about 6-12 drops of essential oil per ounce of shea butter. If you're making a 7 oz batch, you can add between 42 to 84 drops.
Start with just 1-2 oils to keep it simple and avoid overwhelming scents, and always perform a patch test to check for skin reactions.
What Is the Ratio of Shea Butter to Oil?
To get the right consistency, you typically use a 1:1 ratio of shea butter to oil for a creamy texture.
If you prefer something lighter, try a 2:1 ratio, using two tablespoons of shea butter for every one tablespoon of oil.
Adjust based on your preference, but remember that the type of oil can also impact the final texture, so choose wisely for your desired outcome!
What to Mix With Shea Butter to Make It Smell Better?
To make shea butter smell better, you can mix in essential oils like lavender or peppermint.
Start by adding about 3-12 drops of your chosen essential oil per ounce of shea butter, adjusting based on your scent preference.
You might also consider incorporating carrier oils like coconut or sweet almond oil, which can help dilute the shea butter's natural scent while enhancing the overall fragrance.
Experiment with different combinations to find what you love!
Conclusion
By blending essential oils with shea butter, you're weaving a tapestry of nourishment for your skin. Each drop of oil acts like a brushstroke, painting significance and wellness into your daily routine. As you customize your creation, remember it's not just about beauty; it's a ritual of self-care. Store your masterpiece in a cool, dark place, letting it evolve like fine art. Embrace this journey, and watch your skin blossom, reflecting the care you give it.