Making your own aromatherapy creams and lotions is easy and fun! Start by gathering a double boiler, glass bowl, and sterilized tools. Melt solid ingredients like shea butter and mix in carrier oils such as jojoba or almond oil. Add your favorite essential oils for fragrance and added benefits. Blend the mixture for a smooth texture, then pour it into sterilized containers. Don't forget to label them with the preparation date. Store in a cool, dark place to maintain freshness. With just a few tweaks, you can customize your skincare to suit your needs—discover even more tips and tricks right ahead!
Key Takeaways
- Gather necessary equipment, including a double boiler, glass bowl, and sterilized tools for safe preparation of aromatherapy products.
- Melt solid ingredients like shea butter and beeswax, then mix in carrier oils and essential oils for added benefits.
- Use an emulsifying wax to blend oil and water, ensuring a stable and uniform cream or lotion texture.
- Store finished products in sterilized dark glass bottles, keeping them in a cool, dry place away from sunlight.
- Keep accurate measurements for consistent results, and document recipes for future reference and adjustments.
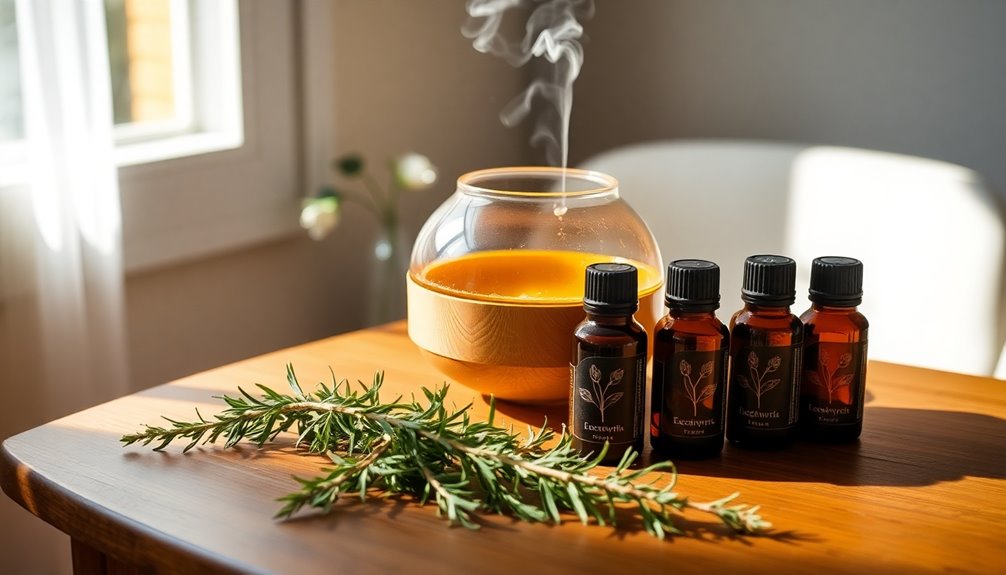
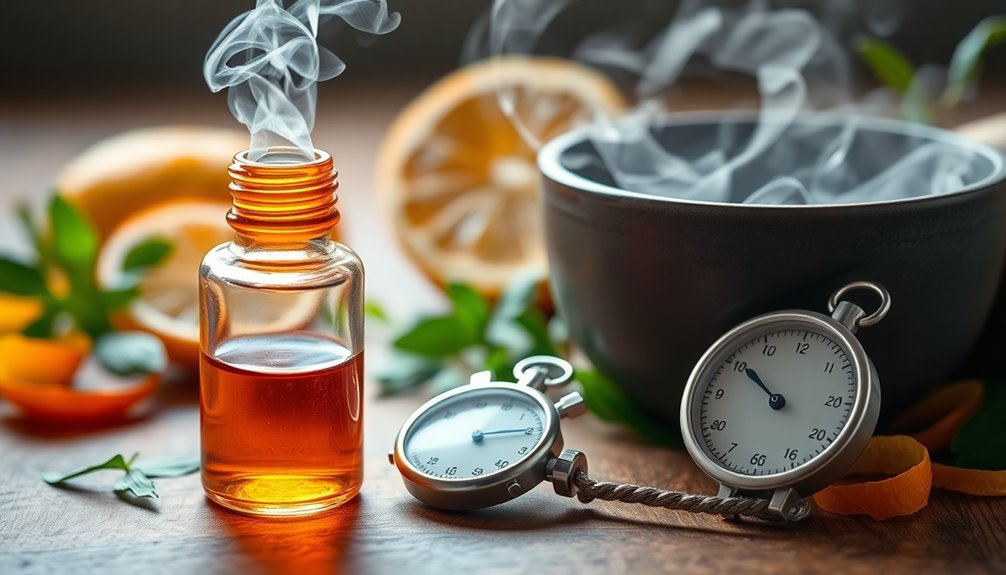
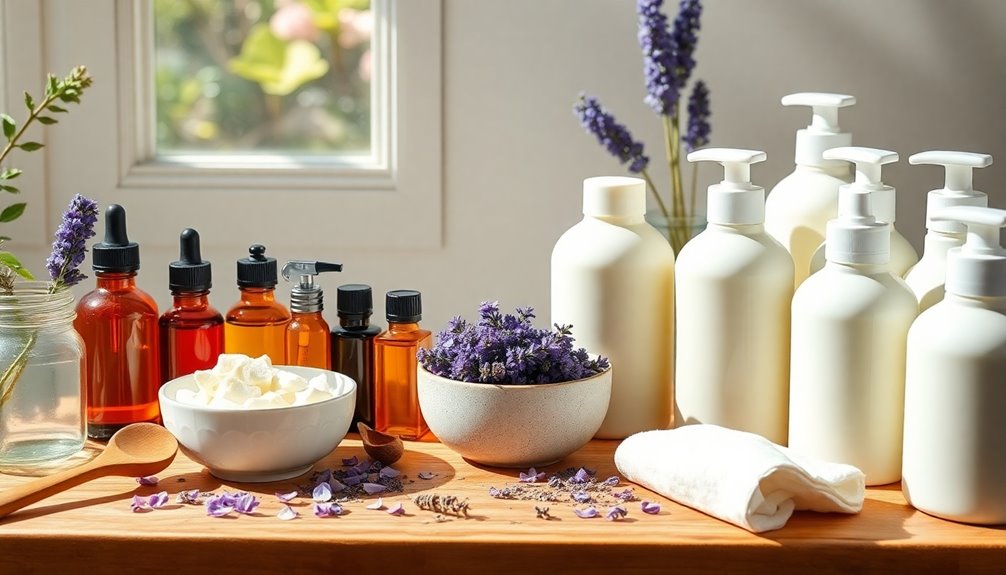
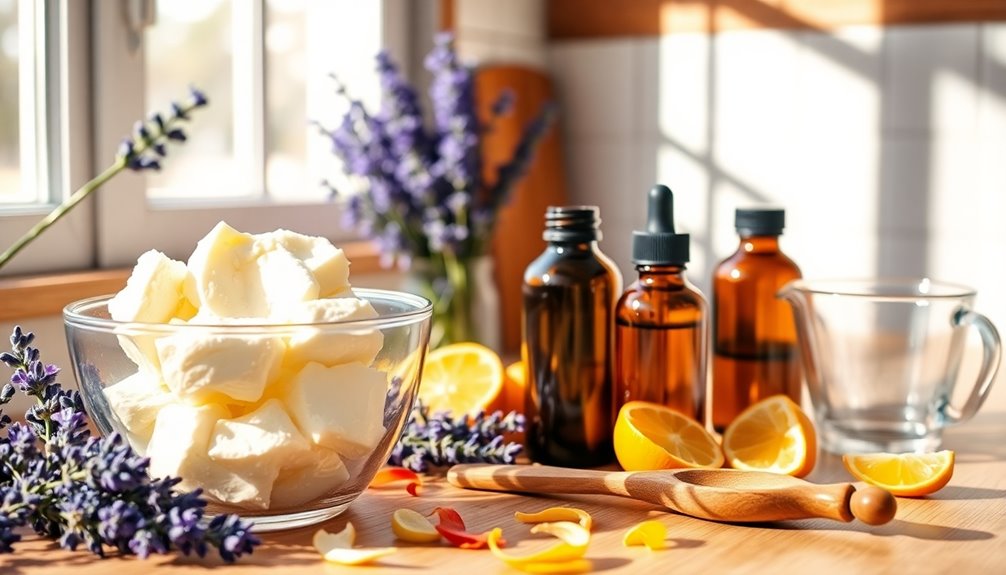
DIY aromatherapy cream kit
As an affiliate, we earn on qualifying purchases.
As an affiliate, we earn on qualifying purchases.
Benefits of DIY Aromatherapy Products

When you create your own DIY aromatherapy products, you gain the freedom to customize ingredients that suit your skin type and personal preferences.
Homemade lotions made from all-natural ingredients give you peace of mind, ensuring safety and quality while avoiding harmful chemicals often found in commercial skincare products. Regular use of essential oils can lead to improved mood and emotional well-being, enhancing your overall experience with these products. Additionally, the inhalation of aromas can trigger physiological responses, helping to reduce cortisol levels and further contributing to stress relief. Using essential oils with natural antibacterial properties can also enhance the overall effectiveness of your skincare routine.
Plus, you can enjoy significant cost savings—around $1.50 for a 16-ounce bottle compared to higher retail prices.
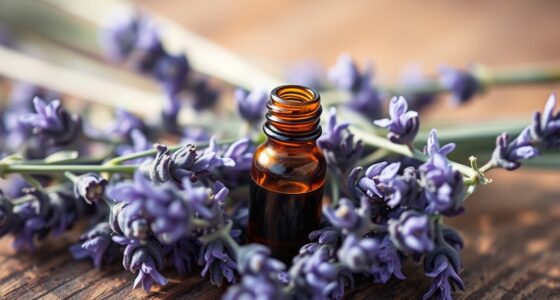
Incorporating essential oils into your formulations can provide therapeutic benefits like relaxation and skin nourishment, tailored to your needs. For instance, using lavender oil can enhance the calming effects of your creams, making them perfect for relaxation before bedtime.
Regularly using DIY aromatherapy products not only enhances your skincare routine but also fosters a grounding self-care ritual, promoting mindfulness and emotional well-being through your unique scent experiences.
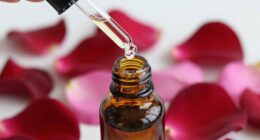
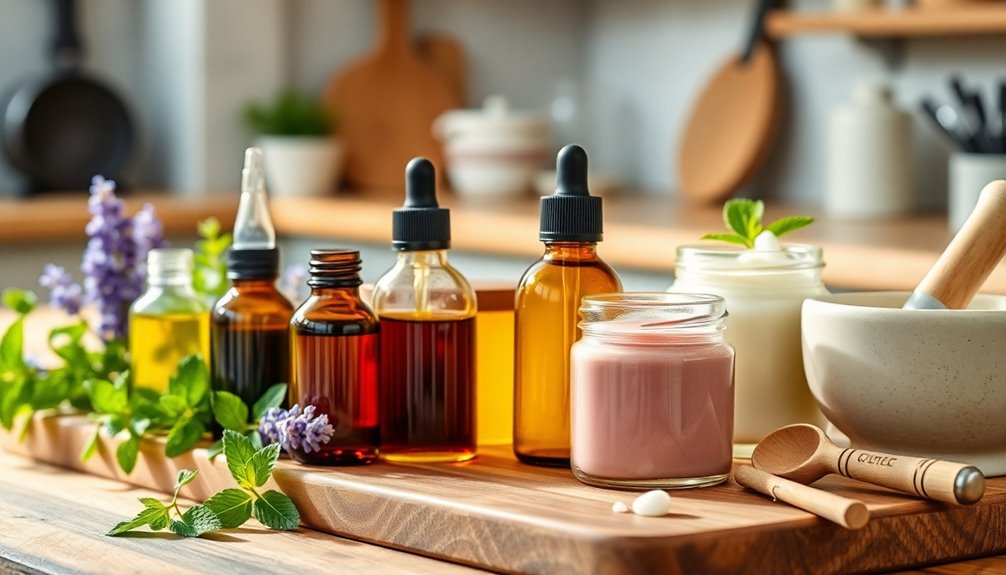
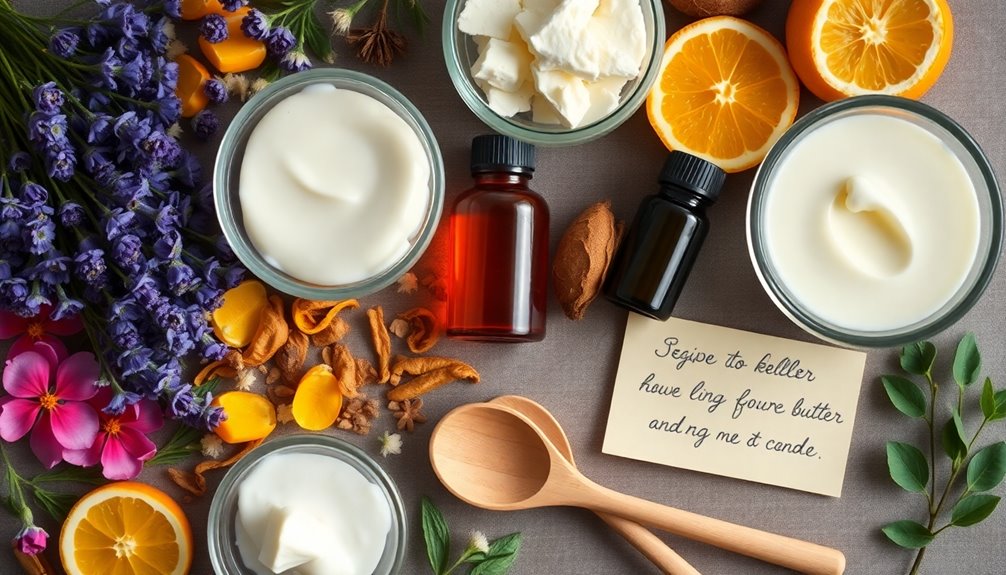
essential oils for skincare
As an affiliate, we earn on qualifying purchases.
As an affiliate, we earn on qualifying purchases.
Essential Ingredients for Creams and Lotions
When you're crafting your own creams and lotions, the essential ingredients play a vital role in their effectiveness.
You'll want to focus on key moisturizing oils, choose the right emulsifiers and preservatives, and don't forget the benefits of essential oils for added scent and skin health.
Understanding these components will help you create a product that's not only enjoyable to use but also beneficial for your skin.
Key Moisturizing Oils
Moisturizing oils are the backbone of effective creams and lotions, providing essential hydration and nourishment for your skin.
Jojoba oil closely resembles your skin's natural sebum, making it an excellent moisturizer rich in vitamins E and B, perfect for hydrating and balancing.
Almond oil boasts nourishing properties, packed with fatty acids and vitamins A and E, making it suitable for all skin types, especially sensitive skin.
Coconut oil offers deep hydration thanks to its medium-chain fatty acids and acts as a barrier to lock in moisture.
Essential Oils Benefits
Incorporating essential oils into your DIY creams and lotions can elevate your skincare routine, offering not just hydration but also a range of therapeutic benefits. These highly concentrated plant extracts can enhance your moisturizer for dry skin, providing relaxation and stress relief. Lavender, for example, is perfect for its calming properties, while tea tree oil offers antibacterial effects for oily skin. Additionally, it's important to monitor pets for any adverse reactions if you plan to use these oils around them. Regular use of herbal supplements may also promote overall skin wellness and relaxation. Using oils like eucalyptus oil can further support skin health due to its antiseptic qualities. Frankincense promotes overall skin health and helps reduce the appearance of scars. When using essential oils, remember to dilute them with a carrier oil at a ratio of 1 drop per teaspoon to prevent irritation. Conducting patch tests is crucial to avoid any adverse reactions before applying your blends to larger areas of skin. Regularly experimenting with different essential oils allows you to create personalized blends that cater specifically to your skin care needs and preferences.
Emulsifiers and Preservatives
Creating smooth and effective creams and lotions hinges on the right emulsifiers and preservatives. Emulsifying wax is crucial for blending oil and water, ensuring your product stays stable and uniform. Aim for 3-10% emulsifier in your formulation, depending on the consistency you want. Regularly cleaning and maintaining your workspace can enhance your safety and effectiveness during the creation process. Additionally, using carrier oils that are suitable for your skin type can also contribute to the overall quality of your creams and lotions. Essential oils can also be incorporated for added benefits, such as emotional and physical wellbeing in your skincare routine.
Different emulsifiers, like beeswax or vegetable emulsifying wax, can also affect the texture and feel of your creams. On the other hand, preservatives like Germall Plus are essential for water-based products. They help prevent microbial growth, extending your lotion's shelf life to about 3-6 months. Additionally, maintaining a clean environment is vital, akin to how air purifier maintenance ensures optimal air quality for your space.
Always remember to sterilize your equipment and storage containers to minimize contamination risks, ensuring your creams and lotions remain safe and effective for longer.
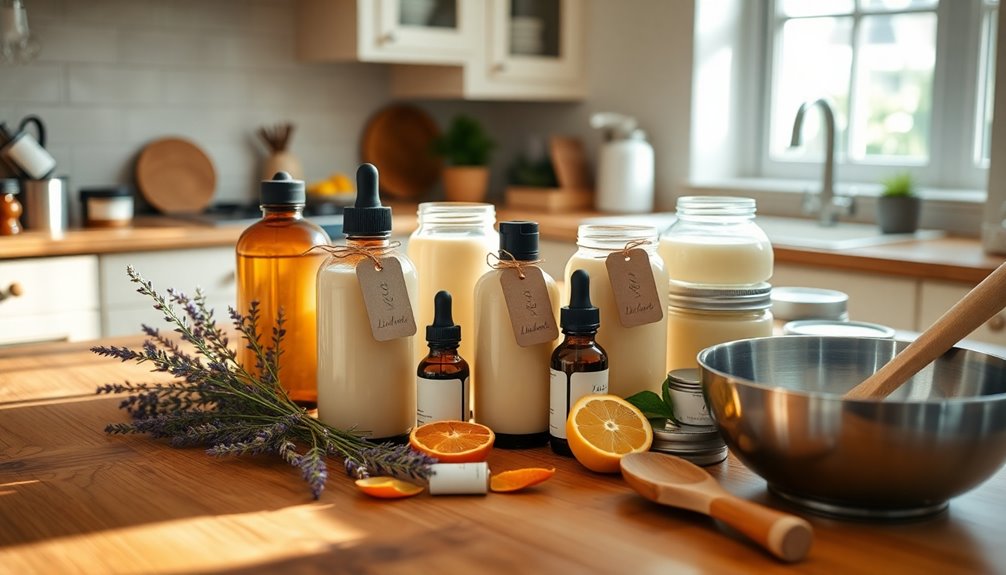
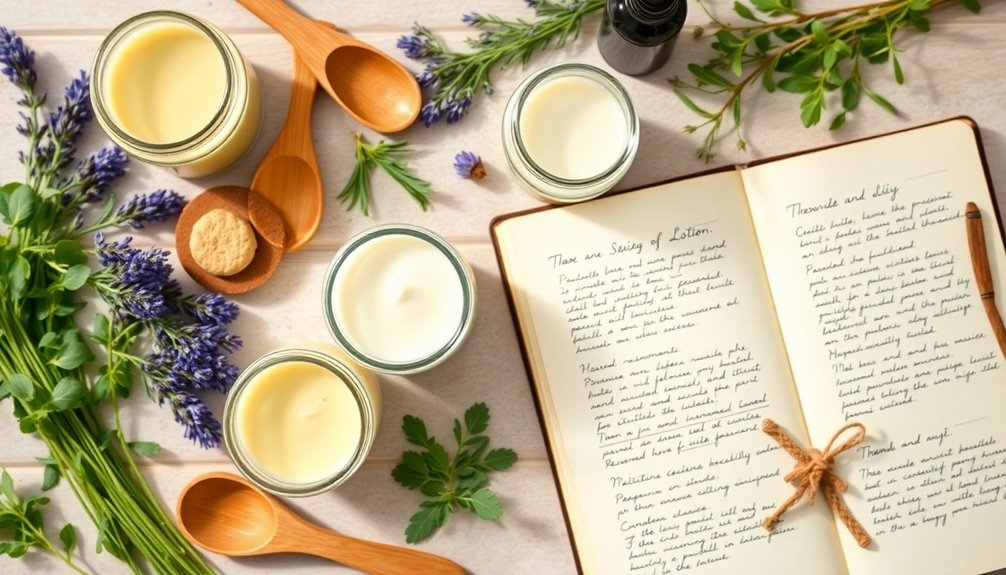
glass storage bottles for creams
As an affiliate, we earn on qualifying purchases.
As an affiliate, we earn on qualifying purchases.
Step-by-Step Making Process

Now that you know the essential ingredients, let's gear up for the making process.
You'll need some basic equipment to melt, mix, and emulsify your ingredients seamlessly.
Follow these steps to create your own aromatherapy creams and lotions that are perfectly customized for your needs.
Essential Ingredients Overview
Crafting your own aromatherapy creams and lotions starts with essential ingredients that work together to create a nourishing blend.
Begin by melting solid ingredients like 3 tablespoons of shea butter, 2 tablespoons of cocoa butter, and 1 tablespoon of beeswax in a double boiler until fully liquefied. This process requires maintaining emotional alignment to ensure a positive experience while creating. Shea butter is also known for its anti-inflammatory effects, making it an excellent choice for soothing the skin. Additionally, excessive ear wax can lead to a stronger smell, highlighting the importance of maintaining overall cleanliness in your skincare routine.
Once melted, mix in 1/2 cup of fractionated coconut oil or another carrier oil, along with optional Vitamin E oil for added benefits.
For fragrance, add about 20 drops of essential oils, like lavender for relaxation or tea tree for its antibacterial properties. You can also use nutritious ingredients like shea butter, which is known for its moisturizing properties, to enhance the cream's effectiveness.
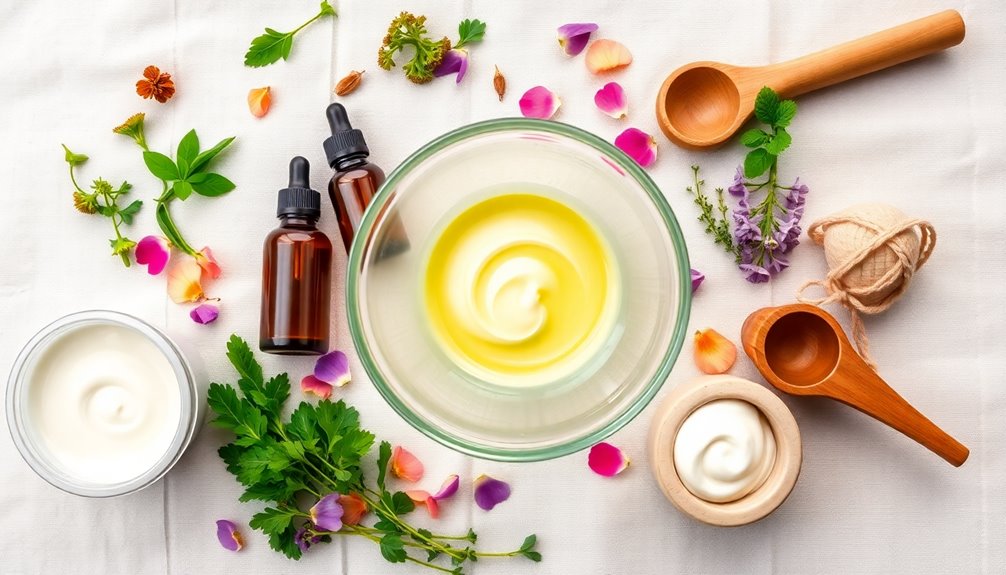
Blend the mixture using an immersion blender until smooth, adjusting with water for the desired texture.
Finally, pour your lotion into sterilized containers and label them appropriately.
Preparation and Equipment Needed
To make your own aromatherapy creams and lotions, you'll need some essential equipment and ingredients ready for a smooth process.
Start by gathering a double boiler, a glass bowl, a whisk, and sterilized tools to guarantee safe and contamination-free preparation. Measure out your ingredients, including oils, emulsifiers, and optional additives like essential oils and Vitamin E, using a scale for accuracy.
Simmer water in the double boiler while melting solid oils and emulsifying wax in the glass bowl until it turns into an opaque cream. Once you achieve the desired consistency, let it cool slightly before adding the essential oils for scent and skin benefits. Remember to check for any toxic ingredients that might not be suitable for skin application.
Finally, transfer your finished lotion into sterilized glass bottles for best preservation.
Mixing and Emulsification Steps**
Having gathered your equipment and ingredients, you're ready to start the mixing and emulsification process.
Begin by simmering distilled water in a double boiler, ensuring it's free from impurities. In a separate glass bowl, melt your chosen oils and emulsifying wax over the simmering water until fully liquefied. This step allows for seamless blending with the water.
Gradually combine the melted oil mixture with the warm water while whisking continuously, creating a smooth, opaque cream. If you want to enhance your lotion, add essential oils and Vitamin E during the cooling stage, making sure they're well-mixed. Incorporating essential oils for hair growth can also provide additional benefits for scalp health.
Finally, pour the finished lotion into sterilized glass containers, using a funnel to avoid spills and seal them to maintain freshness.
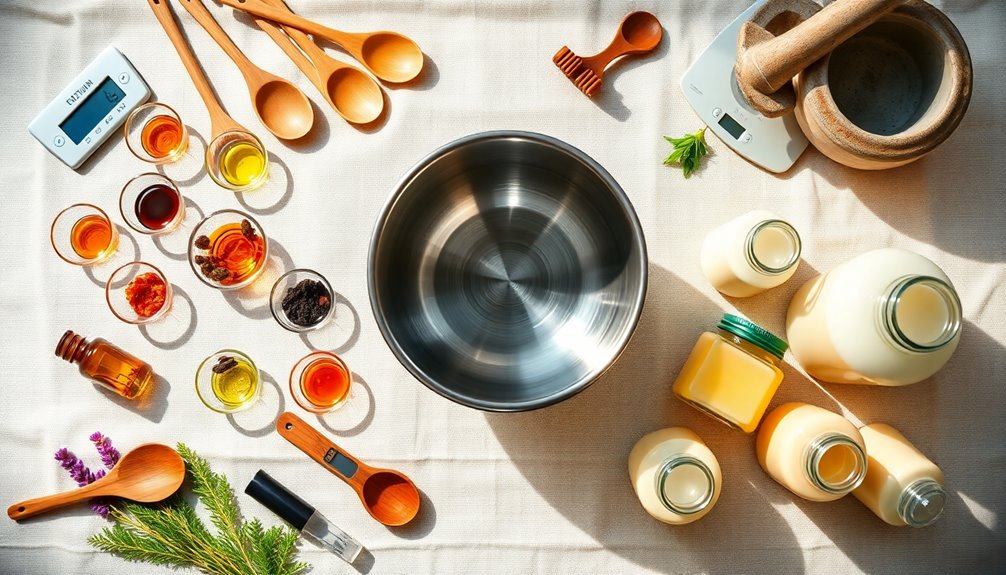
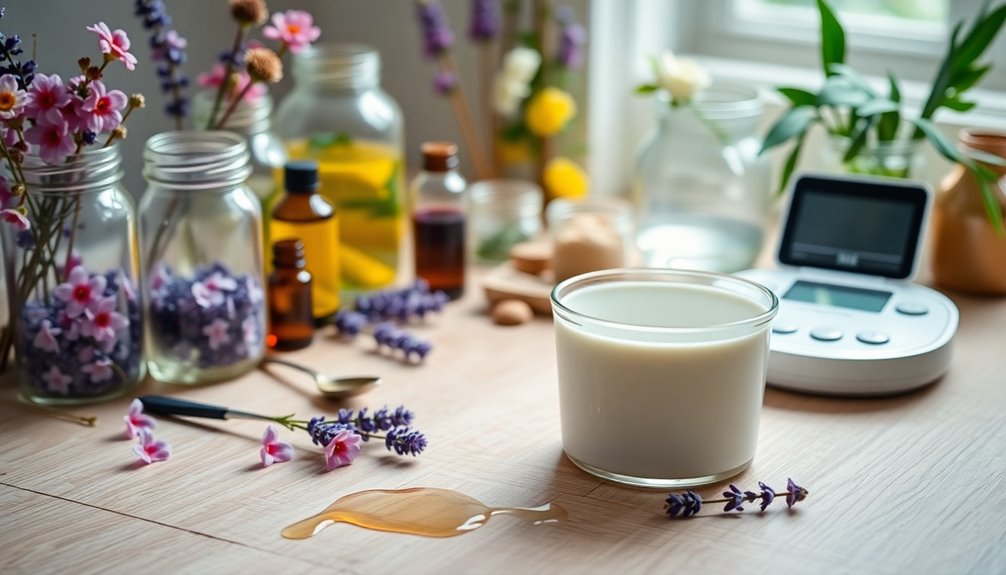
emulsifying wax for lotions
As an affiliate, we earn on qualifying purchases.
As an affiliate, we earn on qualifying purchases.
Recommended Equipment and Tools
When diving into DIY aromatherapy creams and lotions, having the right equipment and tools can make all the difference.
Start with a double boiler for gently melting solid ingredients like beeswax and butters. This method prevents burning and guarantees a smooth blend.
Use a glass bowl for mixing; it helps avoid chemical reactions with plastic and lets you monitor your mixture's consistency easily. An immersion blender or hand mixer is also recommended for achieving a creamy, uniform texture, especially when combining water and oils.
Don't forget measuring cups for precise ingredient ratios; this guarantees your creams and lotions are effective and stable.
With these tools, you're well on your way to creating delightful skincare products!
Storage Solutions for Homemade Products
When storing your homemade lotions and creams, choosing the right containers is key to preserving their quality.
Opt for sterilized dark glass bottles to protect your products from UV exposure, and keep them in a cool, dry place away from sunlight.
Remember to label each container with the preparation date and usage period for ideal freshness.
Choosing Appropriate Containers
Choosing the right containers for your homemade creams and lotions can greatly impact their quality and longevity.
Opt for glass bottles, as they maintain ingredient quality and prevent harmful chemical leaching from plastics. Dark glass containers are especially beneficial for protecting sensitive essential oils from UV light, which can degrade their potency.
For hygiene, consider using pump bottles; they minimize contamination by avoiding direct contact with your fingers when dispensing the product.
Always store your containers in a cool, dry place, away from direct sunlight, to extend shelf life.
Regularly check the condition of your stored products for any signs of spoilage, such as changes in smell or texture, ensuring they remain safe and effective for use.
Optimal Storage Conditions**
To keep your homemade creams and lotions effective and safe, it's crucial to store them under ideal conditions.
Use sterilized dark glass containers to minimize UV exposure, which preserves the quality of your ingredients. Always store your products in a cool, dry place, away from direct sunlight and heat sources, to maintain their potency. Proper storage conditions can also help enhance energy efficiency when using tools like air purifiers that help maintain air quality. Additionally, using an air purifier with a HEPA filter can further reduce airborne contaminants that may affect your products.
If you're using essential oils, make sure they're in a cool environment, as heat can degrade their quality. Opt for airtight containers to prevent moisture contamination, especially in water-based formulations.
Regularly check for signs of spoilage, such as mold or unpleasant odors, to assure the safety and effectiveness of your homemade products. Additionally, consider using an air purifier to enhance indoor air quality, as improved air quality can help preserve the integrity of your skincare ingredients.
Following these tips will help extend the shelf life of your creations.
Customizing Scents and Textures
Customizing scents and textures in your DIY aromatherapy creams and lotions can elevate your skincare routine to new heights.
Start by blending essential oils like lavender for relaxation or wild orange for an uplifting aroma, using about 20 drops per cup of carrier oil.
To alter the texture, experiment with carrier oils such as jojoba or almond oil; jojoba is great for sensitive skin.
Adjust the emulsifying wax in your lotion recipe to achieve your desired thickness—more wax creates a richer cream, while less results in a lighter lotion.
For added benefits, incorporate vitamin E for antioxidant properties, or enhance creaminess with shea or cocoa butter.
Enjoy the process of customizing scents and textures for a unique skincare experience!
Herbal Ingredients to Consider
When crafting your DIY aromatherapy lotions, consider incorporating herbal ingredients that offer both therapeutic benefits and delightful fragrances.
Here are some great options for your herbal lotions:
- Chamomile: This gentle ingredient promotes relaxation and soothes sensitive skin with its anti-inflammatory properties.
- Calendula: Ideal for dry, itchy skin, calendula reduces inflammation and aids healing, making it a popular choice.
- Cottonwood: Known for its anti-inflammatory and antimicrobial properties, it's perfect for soothing skin irritations.
- Rose: Not only does it smell amazing, but rose also helps address inflammation and enhances your mood.
Tips for Effective Preservation
Effective preservation is essential for maintaining the quality and safety of your DIY aromatherapy lotions. To prevent microbial growth, always use sterilized equipment and containers.
Incorporate preservatives like Germall Plus, especially in water-based formulations, to extend your lotion's shelf life to 3-6 months. Store your creations in dark glass bottles to protect them from UV exposure, which can degrade your essential oil blend's potency.
Always keep your lotions in a cool, dry place, away from direct sunlight and heat sources. Regularly check for signs of spoilage, such as changes in color, odor, or texture, to guarantee they remain safe and effective for use.
Following these tips will help you enjoy your homemade lotions for longer!
Common Mistakes to Avoid
Maintaining the quality of your DIY aromatherapy creams and lotions involves being aware of common mistakes that can compromise your efforts.
Here are four pitfalls to avoid:
- Neglecting Sterilization: Always sterilize your equipment and containers to prevent bacterial growth.
- Overusing Essential Oils: Stick to the recommended ratio of 1 drop of essential oil per 1 teaspoon of carrier oil, especially if you have sensitive skin.
- Skipping Preservatives: For water-based lotions, include a preservative to extend shelf life and reduce contamination risk.
- Inaccurate Measurements: Use a digital scale for precise ingredient measurements to guarantee consistency in texture and effectiveness.
Engaging With the DIY Community
How can you elevate your DIY aromatherapy skills? Engaging with the DIY community is a fantastic way to enhance your knowledge and techniques.
By subscribing to DIY blogs and following social media accounts focused on natural skincare, you'll get regular updates on new recipes and ingredient benefits. Participating in online forums dedicated to homemade cosmetics will provide real-time feedback and inspiration from fellow enthusiasts.
Don't overlook local workshops or community events, where hands-on experiences can deepen your understanding.
Finally, share your creations on social media to foster connections and encourage collaboration. This active participation not only boosts your skills but also cultivates a supportive network passionate about DIY aromatherapy.
Embrace the journey and enjoy the benefits!
Frequently Asked Questions
How to Make Your Own Body Lotion With Essential Oils?
To make your own body lotion with essential oils, start by melting shea butter, cocoa butter, and beeswax in a double boiler.
Once liquefied, mix in coconut oil and Vitamin E oil. Add your favorite essential oils for scent and benefits, then blend until smooth and creamy.
Adjust the consistency with water if needed. Store your lotion in sterilized glass containers, and remember to label them with the preparation date for freshness.
What Is a 3 Ingredient DIY Moisturizer?
Imagine a moisturizer so luxurious, it feels like a cloud hugging your skin!
A 3-ingredient DIY moisturizer typically combines a carrier oil, a solid fat, and an emulsifier. You'll melt shea butter and beeswax together, then mix in your favorite oil, like coconut.
Blend until smooth, and you've got a creamy, hydrating treat for your skin. Add essential oils for a delightful scent, and store it in an airtight container for long-lasting freshness!
Can Essential Oils Be Mixed With Lotion?
Yes, you can mix essential oils with lotion to boost its benefits.
Just remember to use a safe dilution ratio—1 drop of essential oil per teaspoon of lotion.
Choose oils based on your skin type; for example, lavender is great for sensitive skin, while tea tree oil works well for oily skin.
Mix them thoroughly into the lotion to guarantee a smooth blend, and store your creation in a sterilized glass container.
How to Make Essential Oils for Skin Care?
To make essential oils for skincare, start by choosing high-quality essential oils that suit your skin's needs, like lavender for calming or tea tree for acne.
You'll need to dilute these oils with a carrier oil, using a ratio of 1 drop of essential oil to 1 teaspoon of carrier oil to avoid irritation.
Always perform a patch test first to guarantee your skin reacts well, then enjoy the benefits of your personalized blend!
Conclusion
Creating your own aromatherapy creams and lotions can be a rewarding experience, blending the joy of crafting with the benefits of natural skincare. While the process might seem intimidating at first, the satisfaction of applying a product made by your own hands outweighs any initial challenges. Embrace the imperfections and learn from each batch, as each attempt brings you closer to the perfect blend. Immerse yourself in this creative journey, and you'll find both peace and pleasure in every fragrant moment!