To change the filter in your ultrasonic humidifier with aromatherapy, start by unplugging the unit for safety. Open the front cover and carefully remove the filter tray, noting its orientation. Dispose of the old filter and clean the tray thoroughly to prevent mold. Rinse the tray to remove any mineral buildup and guarantee it's completely dry. Insert the new filter correctly, secure the tray, and close the cover. Plug the humidifier back in and check for functionality. Following these steps maintains airflow and enhances your humidifier's performance. There's more to discover about keeping your humidifier in top shape!
Key Takeaways
- Unplug the ultrasonic humidifier before starting the filter change to ensure safety and prevent electrical shock.
- Open the front cover by squeezing the locking mechanisms to access the filter tray.
- Remove the old filter, clean the tray thoroughly with a vinegar-water mixture, and inspect for any damage.
- Insert the new filter in the correct orientation, secure the tray back in place, and close the cover.
- Plug in the humidifier, check for proper mist output, and monitor indicator lights to ensure functionality.

Dreo Humidifiers for Bedroom, 4L Top Fill for Large Room, 36H Runtime, 28 dB Quiet Supersized Cool Mist Air Humidifier for Baby Nursery, Plants, Indoor, Night Light, Easy to Clean & Fill, White
𝟰𝗟 𝗟𝗮𝗿𝗴𝗲 𝗧𝗮𝗻𝗸 𝗳𝗼𝗿 𝗖𝗼𝗻𝘁𝗶𝗻𝘂𝗼𝘂𝘀 𝗖𝗼𝗺𝗳𝗼𝗿𝘁: Enjoy quiet sleep without congestion, coughing, or dry mouth, DREO baby humidifier's...
As an affiliate, we earn on qualifying purchases.
Understanding Your Humidifier
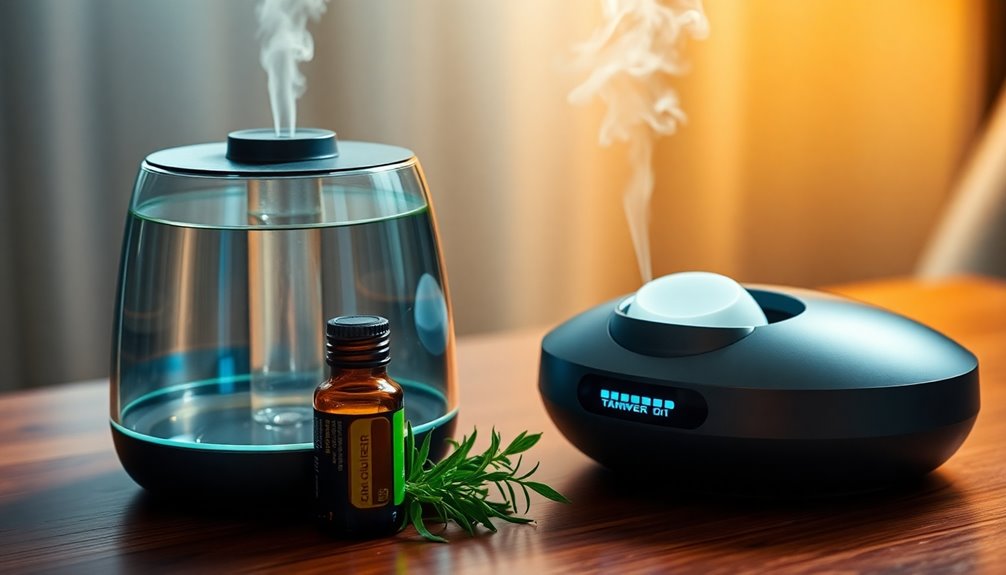
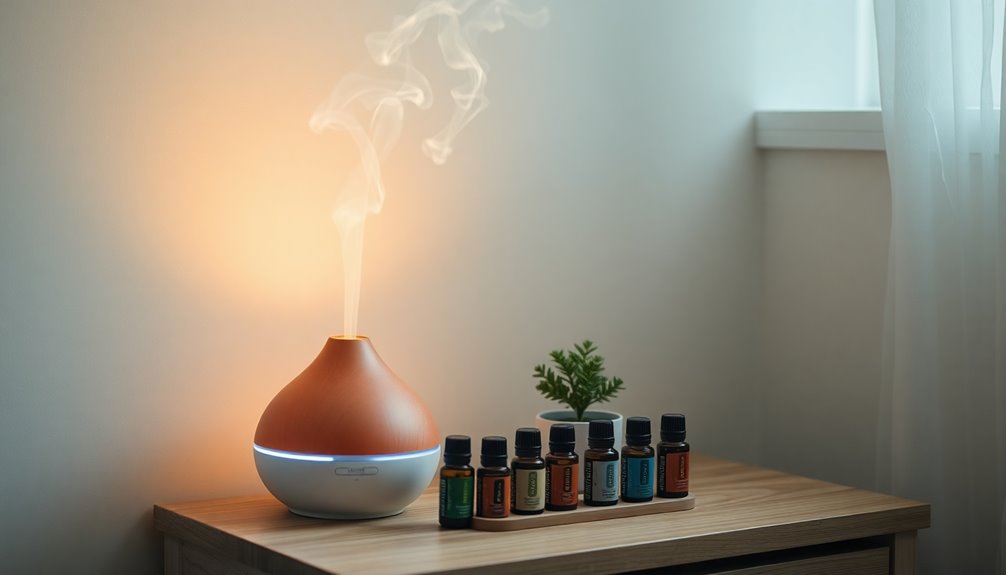
Understanding your ultrasonic humidifier is essential to getting the most out of its benefits. These devices use high-frequency vibrations to create a fine mist that increases humidity levels, enhancing your comfort. Many dog owners find that maintaining optimal humidity levels can benefit their pets' respiratory health as well. Additionally, incorporating essential oils for aromatherapy can provide further therapeutic benefits to you and your pets.
When you're understanding your humidifier, pay attention to its features, like adjustable mist output settings and a 180-degree nozzle for directing mist flow in specific areas. One effective way to enhance your experience is by adding essential oils for respiratory health, which can further improve the air quality in your space.
If you want to enhance your experience further, you can incorporate the use of essential oils. Just remember to use only 100% natural oils and maintain your tank properly. Regular maintenance, such as changing the filter and cleaning the unit, is vital to prevent mold and bacteria buildup, ensuring peak performance and air quality in your space. Additionally, following manufacturer guidelines for maintenance can help prolong the life of your humidifier.

BREEZOME 6L Humidifiers for Bedroom, Cool Mist Top Fill Humidifier with Aroma Diffuser, Humidistat, Night Light, 50H Runtime, Quiet Ultrasonic Humidifiers for Home Large Room, Baby Nursery, Plants
【Never Refill Daily】With a large 6L water capacity and convenient top-fill design, our humidifier for large room runs...
As an affiliate, we earn on qualifying purchases.
Safety Precautions
Before you start changing the filter in your ultrasonic humidifier, make certain to prioritize safety.
Always unplug the unit first to avoid any electrical shock, and check the power cord for damage.
Remember to handle essential oils carefully, especially around children, to guarantee a safe and effective humidifying experience.
Power Safety Measures
When changing the filter in your ultrasonic humidifier, it's important to prioritize safety to avoid electrical hazards. Always unplug the unit from the power source before starting the filter change.
If unplugging isn't possible, make sure the power is turned off at the breaker. Check for any indicator lights that suggest the unit is still powered on; you want to confirm it's safe to handle.
Place the humidifier on a stable, non-metallic surface, away from wet areas to minimize risks. Regularly inspect the power cord for signs of damage or wear.
Never operate the humidifier if the cord is compromised. Following these power safety measures will help guarantee a safe and successful filter change. Additionally, ensure proper airflow around the unit to enhance performance and reduce overheating risks.
Essential Oil Handling
To safely enjoy the benefits of essential oils in your ultrasonic humidifier, you should always start with 100% natural oils. This choice helps prevent damage to your humidifier and guarantees safe diffusion.
When it comes to essential oil handling, perform a patch test on your skin before using a new oil, especially if you have children or pets at home. Dilute oils according to recommended ratios, as undiluted oils can be irritating or toxic to young ones. Regularly using diluted essential oils can enhance safety and effectiveness. Additionally, using essential oils can reduce cortisol levels, helping to manage stress and anxiety. It is also important to note that certain oils can cause skin irritation for sensitive individuals.
Limit diffusion time to 30-60 minutes to avoid overwhelming anyone's respiratory system. If you're considering using essential oils in a baby's room, consult with a pediatrician first, as some oils may not be safe for infants. Additionally, ensure proper ventilation when diffusing to minimize any potential respiratory irritation.
Stay safe and enjoy!
Cleaning Precautions
While cleaning your ultrasonic humidifier, it's crucial to prioritize safety to prevent accidents and guarantee the device functions properly.
Always unplug the humidifier before you start to avoid electrical shock. Inspect the power cord for damage; don't use it if it's frayed. Place the unit on a stable, non-metallic surface, keeping it 12 inches away from walls and heat sources.
When using essential oils, follow proper dilution ratios and consider doing a patch test, especially around children and pets. Use caution with cleaning agents—steer clear of harsh chemicals.
Confirm the unit is completely dry before reassembling to prevent mold and bacteria buildup. Following these cleaning precautions will help keep your humidifier running safely and effectively.

DREO HM735S 11L Smart Humidifier Large Room 700 ft², 100H Cool Mist Air Humidifiers for Bedroom, Top-Fill, Clean Tank Technology, 26dB, Auto Mode, Aroma Box, RGB, Remote & APP Control, Baby, White
100-𝙝𝙤𝙪𝙧 𝙍𝙪𝙣𝙩𝙞𝙢𝙚, 𝙇𝙖𝙨𝙩𝙞𝙣𝙜 𝘾𝙤𝙢𝙛𝙤𝙧𝙩: Enjoy uninterrupted comfort with our DREO air humidifier’s impressive 4-day runtime and 2.9-gallon tank....
As an affiliate, we earn on qualifying purchases.
Required Tools and Materials

Changing the filter in your ultrasonic humidifier requires a few essential tools and materials to make the process smooth and efficient.
First, you'll need a new filter that fits your specific unit, which you can find in the product manual or on the manufacturer's website.
A damp cloth or paper towel is handy for cleaning any spills or dust around the filter area.
Depending on your humidifier's design, a small screwdriver might be necessary to remove screws securing the cover.
It's also beneficial to have a clean workspace to prevent contamination.
Finally, keep a trash bag nearby for properly disposing of the old filter to maintain cleanliness and hygiene during this task.
Provirtec 6L Self-Cleaning Humidifier for Large Room, CleanCare Warm & Cool Mist, No-Leak Design & Top Fill, 60 Hour Runtime, Quiet Ultrasonic Auto Mode with Remote Control for Bedroom & Home
Dual Self-Cleaning Technology for Your Family: Our advanced humidifiers for bedroom use a professional-grade water tank and constant-temperature...
As an affiliate, we earn on qualifying purchases.
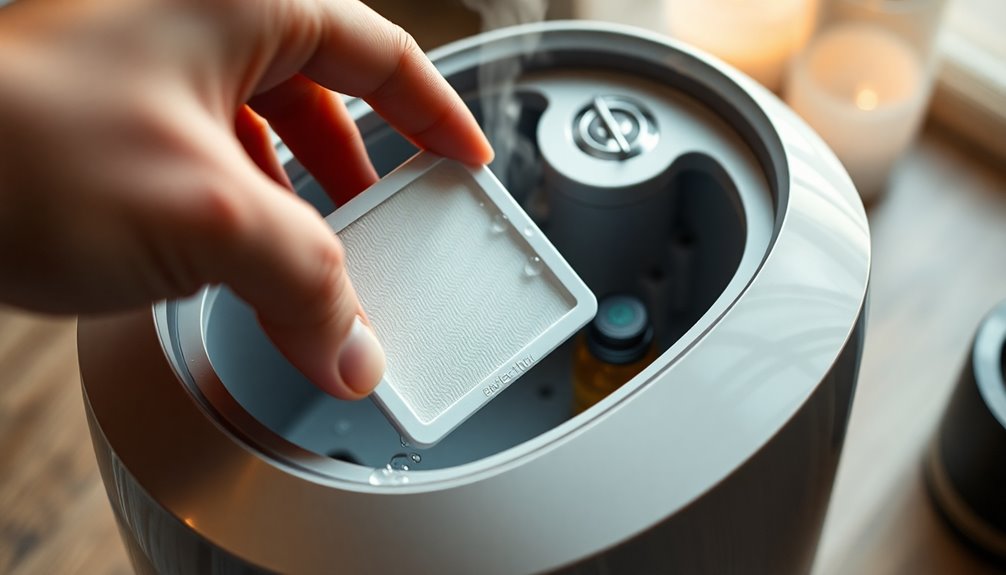
Step-by-Step Filter Replacement
Follow these simple steps to replace the filter in your ultrasonic humidifier.
First, unplug the humidifier to guarantee safety.
Next, open the front cover by squeezing the locking mechanisms, giving you access to the filter tray.
Gently pull the tray out, taking note of the orientation and any colored dots for proper reinstallation.
Unsnap the top to dispose of the used filter.
Clean the filter tray thoroughly with a garden hose, making sure it's completely dry before inserting the new filter.
Place the new filter into the tray, guaranteeing the correct orientation.
Snap the tray back together and reattach it to the humidifier.
Finally, close the cover securely, and your humidifier is ready to use!
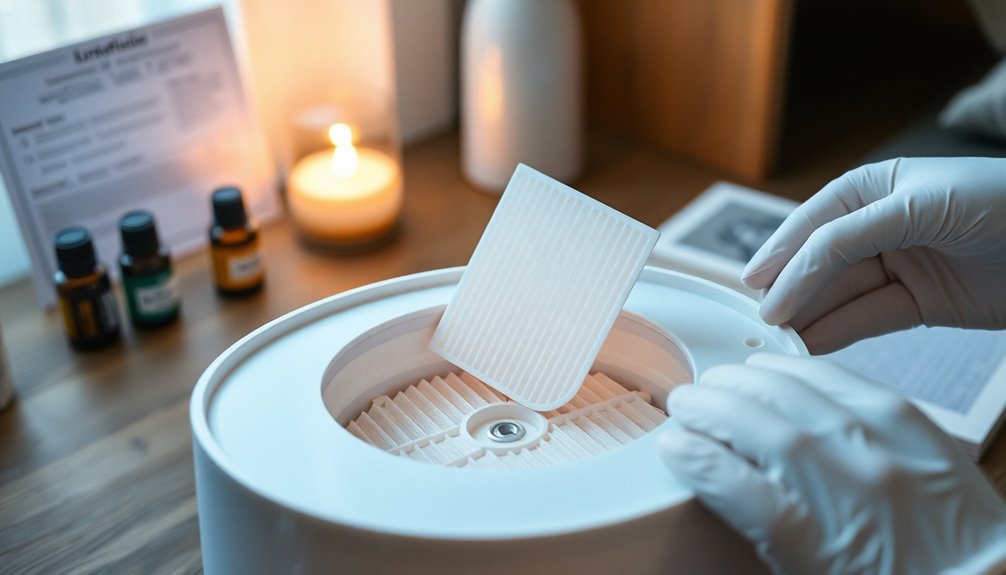
Cleaning the Filter Tray
Before you start cleaning the filter tray, make sure you have everything you need ready.
You'll want to use a garden hose to eliminate any mineral build-up and dirt effectively.
Once it's clean, don't forget to let it dry completely before putting it back in to avoid mold issues.
Preparing for Cleaning
To guarantee a safe and effective cleaning process, make sure the humidifier is unplugged from the power source.
Start by removing the front cover; squeeze the locking mechanisms at the top and bottom to access the filter tray. Once you've done that, gently tug the filter tray out of the unit.
Take note of the colored dots and the positioning of the water tube so you can reinstall it correctly later.
Next, take the filter tray outside and use a garden hose to thoroughly wash away any mineral deposits and dirt build-up.
After cleaning, make sure to dry the tray completely and inspect it for any damage or wear before putting it back.
Cleaning Techniques Overview
While cleaning the filter tray of your ultrasonic humidifier may seem straightforward, using the right techniques can greatly enhance its efficiency and lifespan.
For a thorough cleaning techniques overview, take the filter tray outside to prevent any mess indoors. Using a garden hose, wash away all mineral deposits and dirt buildup, ensuring no residue remains, as this can hinder performance.
While you're cleaning, inspect the tray for any signs of damage or wear; a compromised tray can lead to inefficient operation.
After cleaning, allow the tray to dry completely to prevent mold growth.
Regularly cleaning the filter tray is essential for maintaining peak function and prolonging your humidifier's life.
Drying and Reinstallation Steps
After thoroughly cleaning the filter tray, it's vital to guarantee it's completely dry before reinstalling it in your ultrasonic humidifier. This step is important to prevent moisture-related issues that could affect the unit's performance.
Here are the drying and reinstallation steps you should follow:
- Inspect the tray for any damage or wear during cleaning.
- Allow the tray to air dry completely outside or use a clean cloth to speed up the process.
- Align the colored dots on the filter tray with the corresponding markers on the humidifier for proper positioning.
- Securely snap the tray back into place, ensuring all components fit snugly to avoid air leaks.
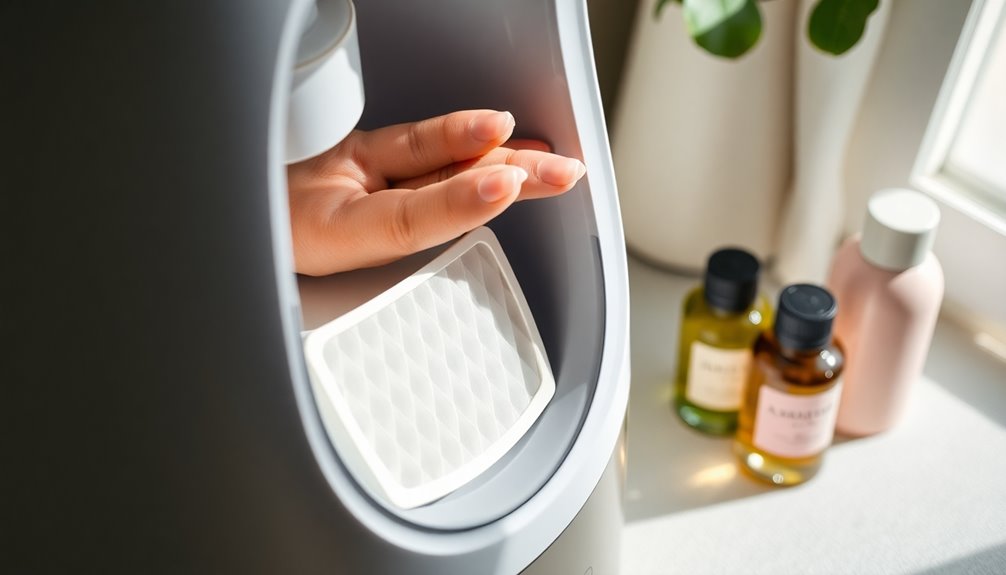
Installing the New Filter

Once you've chosen the right filter, make sure it's oriented correctly by aligning any color marks or dots on top before placing it into the filter tray.
When installing the new filter, carefully insert the filter tray back into the humidifier, ensuring the water tube aligns properly for peak functionality.
After the new filter is in place, snap the top of the filter tray back securely to hold it firmly.
If your humidifier has a damper, open it to allow proper air and moisture flow through the unit.
Finally, double-check that the cover fits snugly and all locking mechanisms are engaged to prevent air leaks.
You've set your humidifier up for success!
Reassembling the Humidifier

To reassemble your ultrasonic humidifier, start by aligning the cover with the unit's frame, guaranteeing it fits securely.
Once you've done that, make sure to engage all locking mechanisms on the cover to prevent air leaks during operation.
- Check that the filter tray is properly inserted, with the colored dots indicating the correct orientation.
- Reattach any components, like the water tube, that you disconnected during the filter replacement.
- Confirm the cover snaps back into place to secure it effectively.
- Finally, plug the unit back into the power source and turn on the humidistat to resume normal operation.
Now you're all set to enjoy the rejuvenating mist from your humidifier!
Testing the Unit
Once you've plugged the humidifier back in, listen for any clicks that signal it's ready to go.
Check the humidistat to confirm it's functioning and observe the mist output from the nozzle.
If everything sounds and looks good, your unit is likely operating properly!
Power Restoration Check
After plugging your ultrasonic humidifier back into the electrical outlet, check that the necessary circuit breakers are turned on to restore power. This power restoration check is vital for guaranteeing your unit operates effectively, especially when using essential oils.
Here's what to do next:
- Look for indicator lights or listen for sounds confirming the humidifier has powered on.
- Observe the mist output and verify it's dispersing correctly.
- Listen for operational sounds, like the fan running, to confirm functionality.
- Monitor the water flow through the drain tube to ascertain active mist dispersion.
If you notice no signs of operation, such as mist output or unusual sounds, consult a professional for assistance. Additionally, ensuring that your ultrasonic humidifier has consistent operational sound can help diagnose potential issues early on.
Humidistat Functionality Confirmation
Before you can guarantee your ultrasonic humidifier is functioning properly, you need to confirm the humidistat's operation.
First, verify the humidifier has been turned on by plugging it back into the power source and switching on the corresponding breaker. Activate the humidistat by pressing the designated button; you should hear a clicking sound indicating it's working.
Next, monitor the unit for water flow through the drain tube, which confirms the humidistat is managing humidity levels effectively.
Pay attention to any unusual sounds or leaks, as these could signal problems with the humidistat or filter installation.
If you don't notice any signs of operation, it might be time to consult a professional for troubleshooting assistance.
Mist Output Observation
To guarantee your ultrasonic humidifier is working properly after changing the filter, plug the unit back in and turn it on to observe the mist output. Pay close attention to verify everything's functioning as it should.
- Adjust the mist output level using the control knob.
- Look for a consistent flow of mist, indicating ideal operation.
- If mist production stops, check your humidity settings.
- Listen for any unusual sounds or check for leaks.
These observations are essential for your mist output observation.
If the unit stops misting, it might've reached the desired humidity level. Staying vigilant during this process helps confirm your humidifier delivers the moisture you need efficiently.
Maintenance and Care Tips

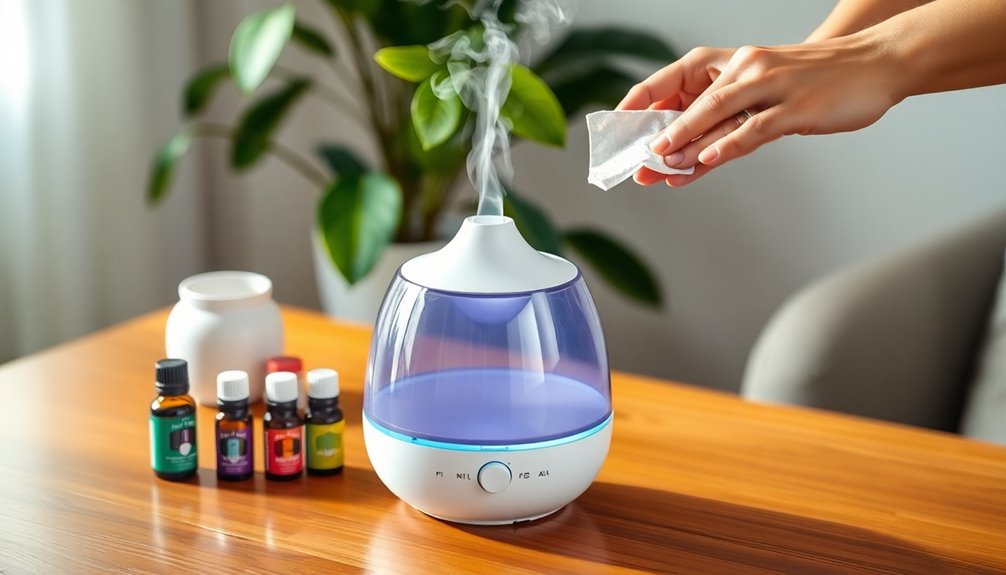
Maintaining your ultrasonic humidifier is essential for ensuring its longevity and peak performance. Clean your unit weekly with a mixture of 100ml of white vinegar and water to prevent mold and bacteria buildup. When using essential oils, always choose 100% natural options and avoid carrier oils, as they can damage the tank and components. To enhance mist quality and prolong your humidifier's life, fill the tank with distilled or demineralized water. Wipe up any spills outside the tank with a wet paper towel right away to keep surfaces clean and prevent oil residue. Finally, remember to replace your humidifier filter annually for peak performance and air quality. Additionally, regular maintenance of your unit can lead to improved indoor air quality and ensure a healthier living environment. Incorporating elements of relaxation before sleep can also enhance your overall wellness and the effectiveness of your humidifier.
When to Replace the Filter

Regular maintenance, including filter replacement, plays a significant role in keeping your ultrasonic humidifier running smoothly.
It's best to replace the filter annually, typically in autumn, to maintain peak performance.
Keep an eye out for signs that indicate when to replace the filter:
- Reduced mist output
- Increased noise from the unit
- Visible discoloration of the filter
- Buildup of mineral deposits or dirt
Check the filter every 2-3 months for any issues.
Keeping a log of replacement dates helps you stay on schedule and avoid last-minute purchases.
Consider buying filters in bulk to save money and guarantee you always have a replacement on hand.
This proactive approach will keep your humidifier functioning effectively.
Frequently Asked Questions
How to Change Humidifier Filter?
To change your humidifier filter, start by unplugging the unit for safety.
Open the front cover by squeezing the locks and gently remove it.
Take out the old filter by pulling the tray and unsnapping the top.
Clean the tray to remove any buildup, then insert the new filter in the same orientation as the old one.
Finally, snap the tray back in place and securely reattach the cover.
Do Ultrasonic Humidifiers Have Filters?
Ultrasonic humidifiers typically don't have traditional filters like other types. Instead, they use high-frequency vibrations to create a fine mist.
Some models might feature a built-in filter or mesh screen to catch impurities, but it's not necessary for operation.
Regular cleaning is vital to prevent mineral buildup, which can affect performance.
If your model includes a filter, check the manufacturer's instructions for maintenance and replacement details to guarantee peak functionality.
How to Clean Homedics Total Comfort Ultrasonic Humidifier Warm & Cool Mist?
To clean your Homedics Total Comfort Ultrasonic Humidifier, start by disconnecting it from power and removing the water tank.
Mix 100ml of white vinegar with water in the tank, then run the humidifier for 5-10 minutes to break down mineral deposits.
Regularly wipe down the base and tank with a damp cloth.
For stubborn scale, soak affected areas in undiluted vinegar for 15-20 minutes.
Aim to clean it weekly for peak performance.
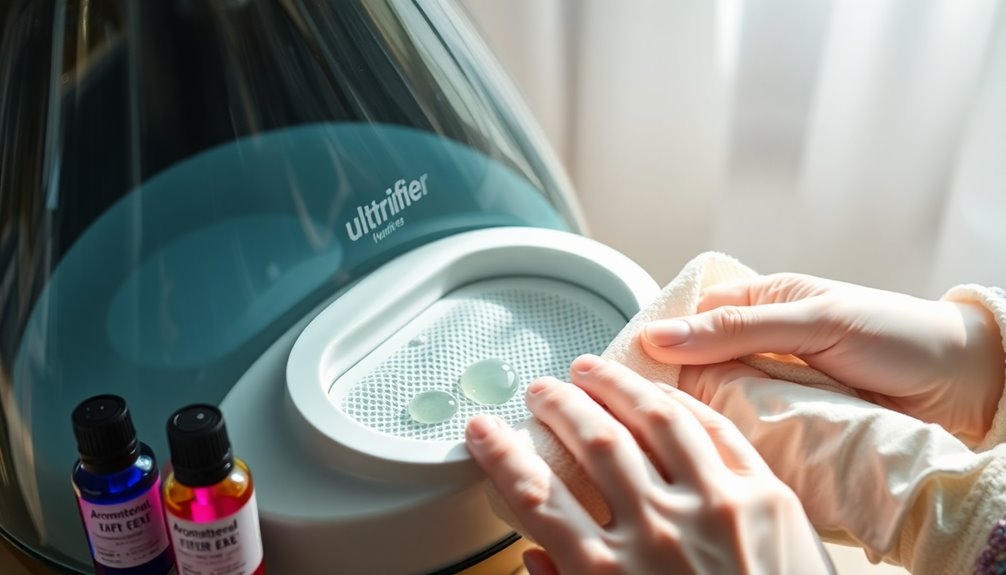
How Do You Add Essential Oil to an Ultrasonic Humidifier?
To add essential oil to your ultrasonic humidifier, first, make sure it's powered off and unplugged.
Use only 100% natural essential oils; check the label for dosage instructions.
Carefully pour a few drops into the water tank, avoiding overfilling.
Never add oils to the reservoir or other parts, as this can damage the unit.
Once you've added the oil, securely close the tank, plug it back in, and enjoy the soothing scents!
Conclusion
Now that you've navigated the steps to change your ultrasonic humidifier's filter, you're ready to breathe fresh life into your space. Like a gentle breeze carrying the scent of fresh blooms, a new filter revives your environment, enriching your air with soothing aromas. Remember, regular maintenance keeps your humidifier humming harmoniously, ensuring every drop of mist is pure and revitalizing. So, embrace this ritual, and let your home flourish with comfort and tranquility!